Apple Pie: Baking a MacBook
Or, the time I threw my MacBook into the oven to fix it
When I began studying computer science way back in 2012 (which really isn't all that long ago), I decided to buy my first laptop. Having grown up with Apple computers and thus being the most familiar with them, I decided on a then top-of-the-line refurbished MacBook Pro. Picture of a 2011 MacBook Pro, for reference
My MacBook served me faithfully for 5 years, until the fateful day that I went to turn it on and.... nothing.
Well, not quite nothing.
A little prodding got it to make the startup noise (I had it on mute the last time I was using it), and the sleep light turned on when I closed the lid. Nonetheless, the display refused to show anything and trying to connect an external display was of no avail. I did, after some very lucky typing, manage to start up a VNC server which allowed me to kinda continue using it, but this was hardly an effective solution.
After an optimistic question on SuperUser and quite a bit of research, I found the cause of my problem. It turns out many MacBooks produced in 2011 have relatively brittle circuitry, which can become cracked and disconnected after a few years of heating and cooling (and being tossed around in a backpack most certainly didn't help).
The usual fix is to have the logic board replaced, but without warranty or Apple Care (and faced with a rather hefty price tag for a replacement part) I resolved to find a different solution.
That's when I came across this post, which demonstrates that it is possible to reflow the logic board (essentially melt the circuitry just enough for it to reconnect) in a standard oven.
With that all said, here is my recipe for some delicious Apple pie.
Step one: preheat your oven
What you set the temperature to is important, because it needs to be hot enough to soften the circuitry but cool enough to not actually melt anything. I settled on a moderate 335°F, because it seemed to be the average that people on the internet were recommending. The oven, getting ready to soften some circuitry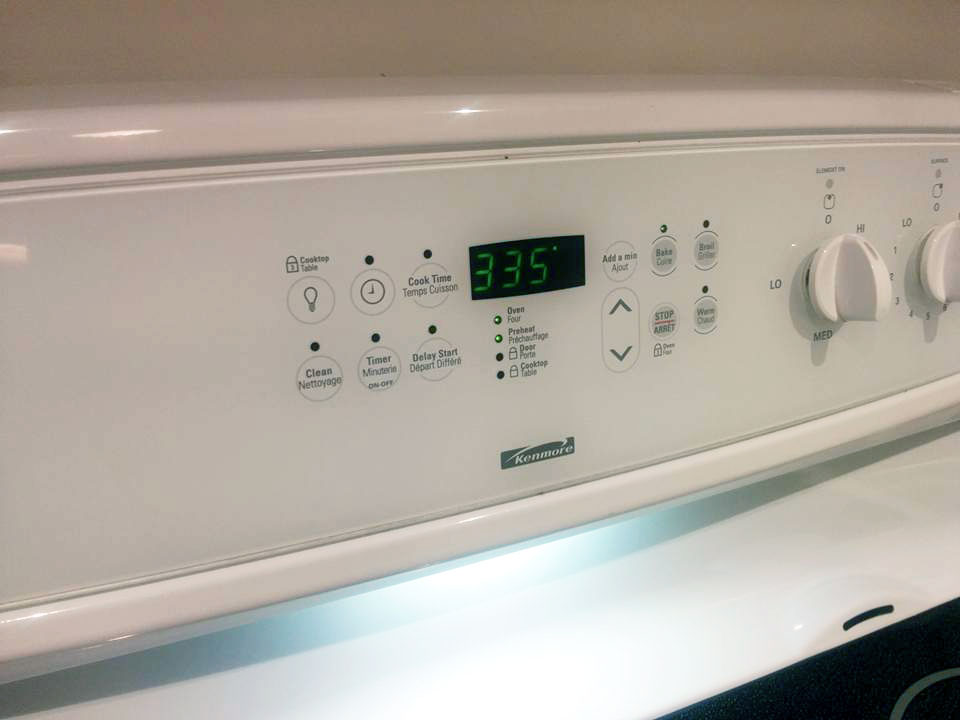
Step two: extract the broken part
Taking apart the MacBook isn't too difficult in and of itself, but you have to be careful with the screws: they're very small and and they come in a few different sizes so you have to keep track of where they came from.
With that said, here's my MacBook after lifting off the bottom (I removed the hard drive and memory first to ensure they wouldn't get damaged): The peeled MacBook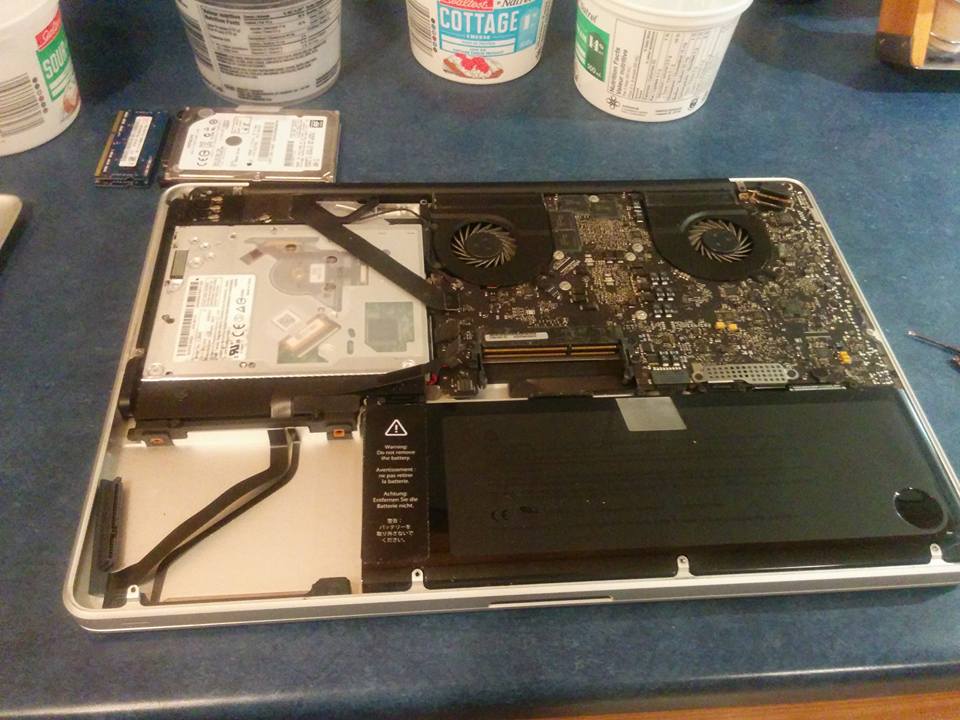
Once you have the back off, you then have to remove the logic board. This was also pretty easy, with the only difficulty again being keeping track of where the screws go. Once this is done, you're left with an empty husk, that will be set aside until it's time to reassemble. A husk of a MacBook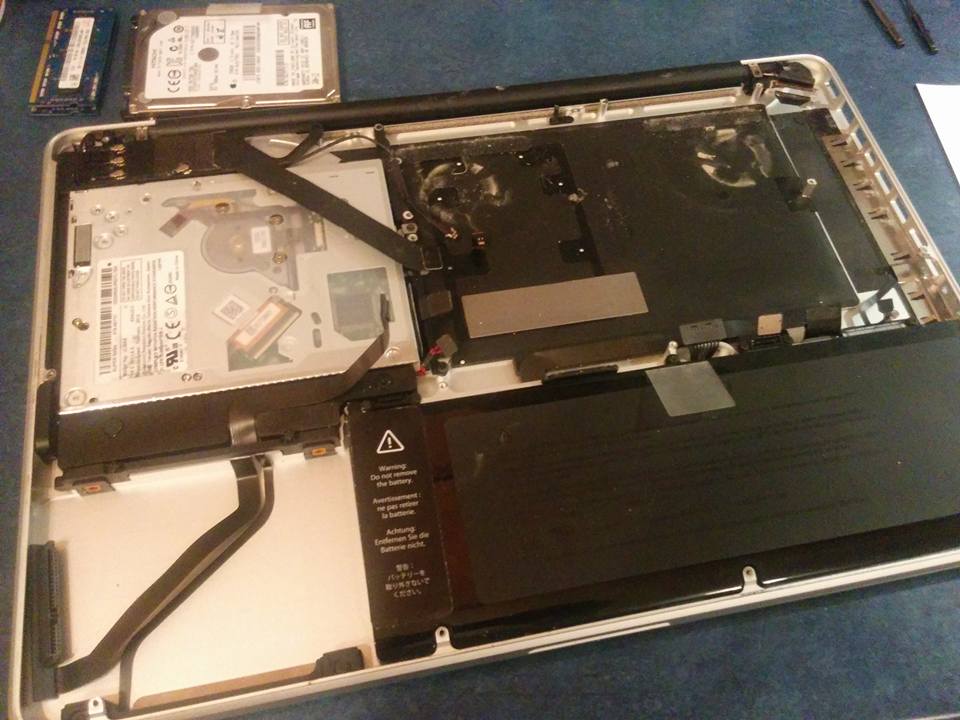
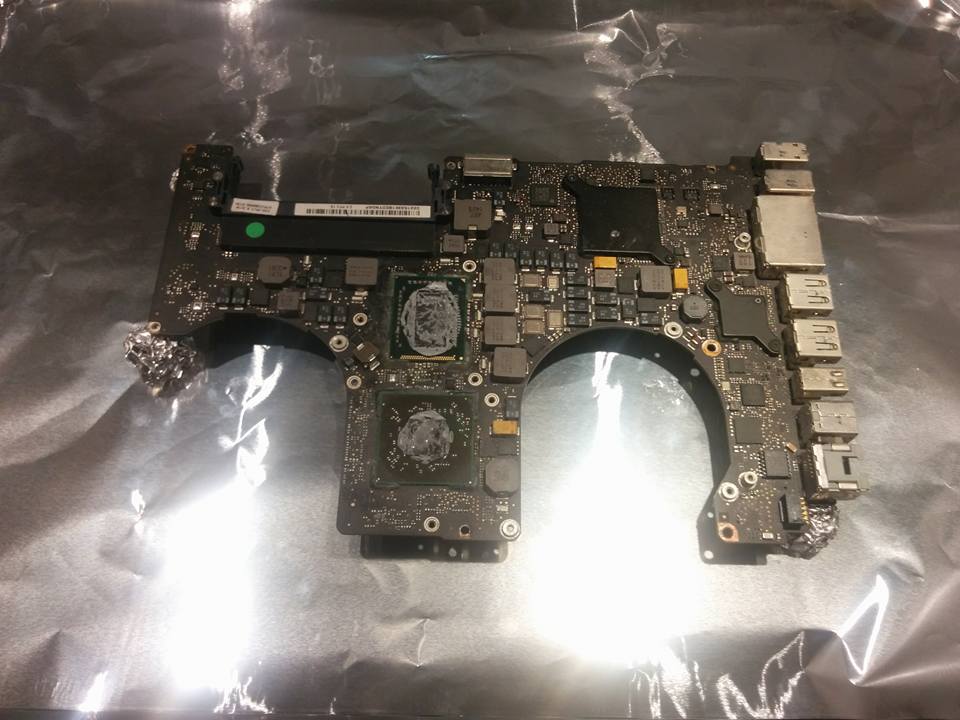
Step three: remove the more meltable pieces
The logic board has a lot of pieces on it that don't react well to being tossed in the oven. Notably there are quite a few plastic pieces that would melt faster than the circuitry would soften. I wanted to minimize the number of things going in the oven, so I just went ahead and removed everything that seemed removable, setting it aside in a way that I'd be able to put it back. The logic board, partially disassembled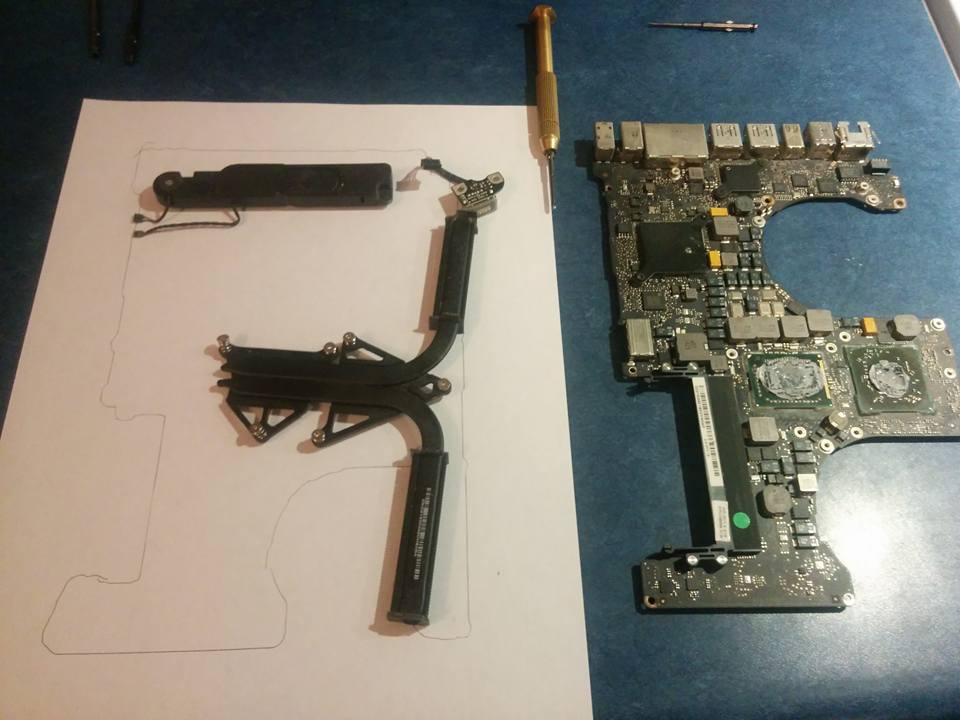
In hindsight, I'm not sure if it was a good idea to remove the heat sink or not, but at the time I was just going for anything with screws.
Step four: bring out the cookie sheet
The logic board on the cookie sheet
Line your cookie sheet with aluminum foil for a nice golden crisp and to make cleanup easier :)
Not really, the last thing you want is a golden crisp or anything that requires cleanup afterwards. The aluminum foil is there to help it heat more evenly on the top and bottom. I propped it up on little balls of aluminum foil under the corners to maximize the air space between the logic board and the sheet for the same reason.
Step five: pop it in the oven
The seven and a half minutes that your Apple pie is in the oven is an excellent opportunity to pray; or make pleas to your ancestors, whichever suits your fancy. The logic board in the oven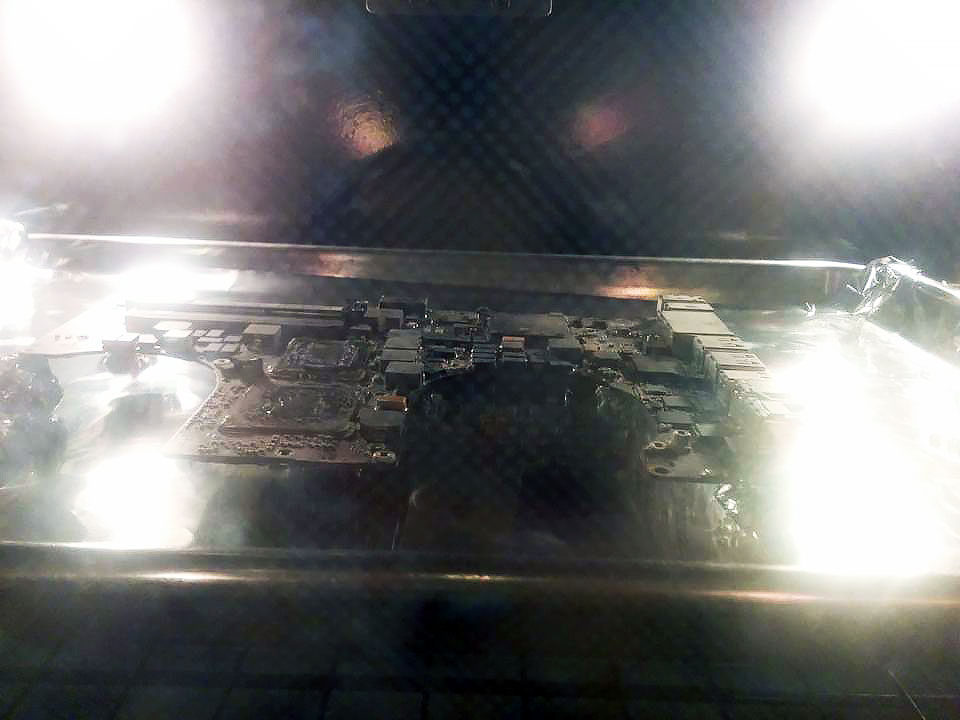
I spent the entirety of this time sitting in front of the oven looking inside, anxiously making sure nothing started bubbling or dripping, and ready to carefully remove it as soon as the timer went off.
Thankfully nothing seemed to bubble or pop while it was in the oven, and it still looked undamaged when I carefully pulled it out and gently set it on the counter to cool.
Step six: let it cool and reassemble the MacBook
I let it cool for at least 10 minutes to make sure everything was back at a reasonable temperature and to let the softened (and hopefully now-reconnected) circuitry return to its normal hardened state.
Reassembly was quick and easy, because I kept little diagrams of where everything belongs. I imagine that trying to piece it back together without having kept track would be a bit of a nightmare as there are a /lot/ of tiny screws, and it feels like Apple couldn't quite settle on exactly what size they wanted them to be.
Step seven: turn it on and see what happens!
It worked!
The only weird after-affect I noticed was that white appeared to flicker and move around weirdly on the display, but I was able to hide it by adjusting the settings ever so slightly so that pure white was never actually shown on the display.
Surveys say you can expect anywhere from 2-7 months of continued use from your dabblings in necromancy. I got about 6 more months out of my MacBook before it succumbed to the same problem once again.
Knowing that it was only a temporary solution, I bought a new laptop to use as my main computer shortly after reviving my MacBook so I haven't tried to revive it again. My MacBook now lives on my shelf, finding use only when I need something Mac-specific (as only the visual components are broken, VNC and SSH are still working).
Overall, I can't recommend this if your device is still under warranty or if you have any other options available, but as a final attempt to squeeze more life out of your MacBook when you're pretty sure cracked circuitry is to blame then I can say that there's a chance it will work. Alternatively if you're feeling reckless and want to see whether popping your laptop in the oven will solve your problems, then I'm in no position to stop you.